
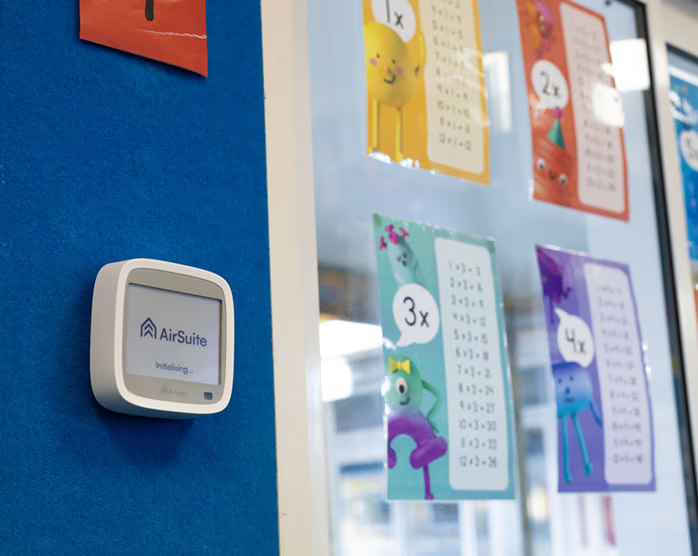

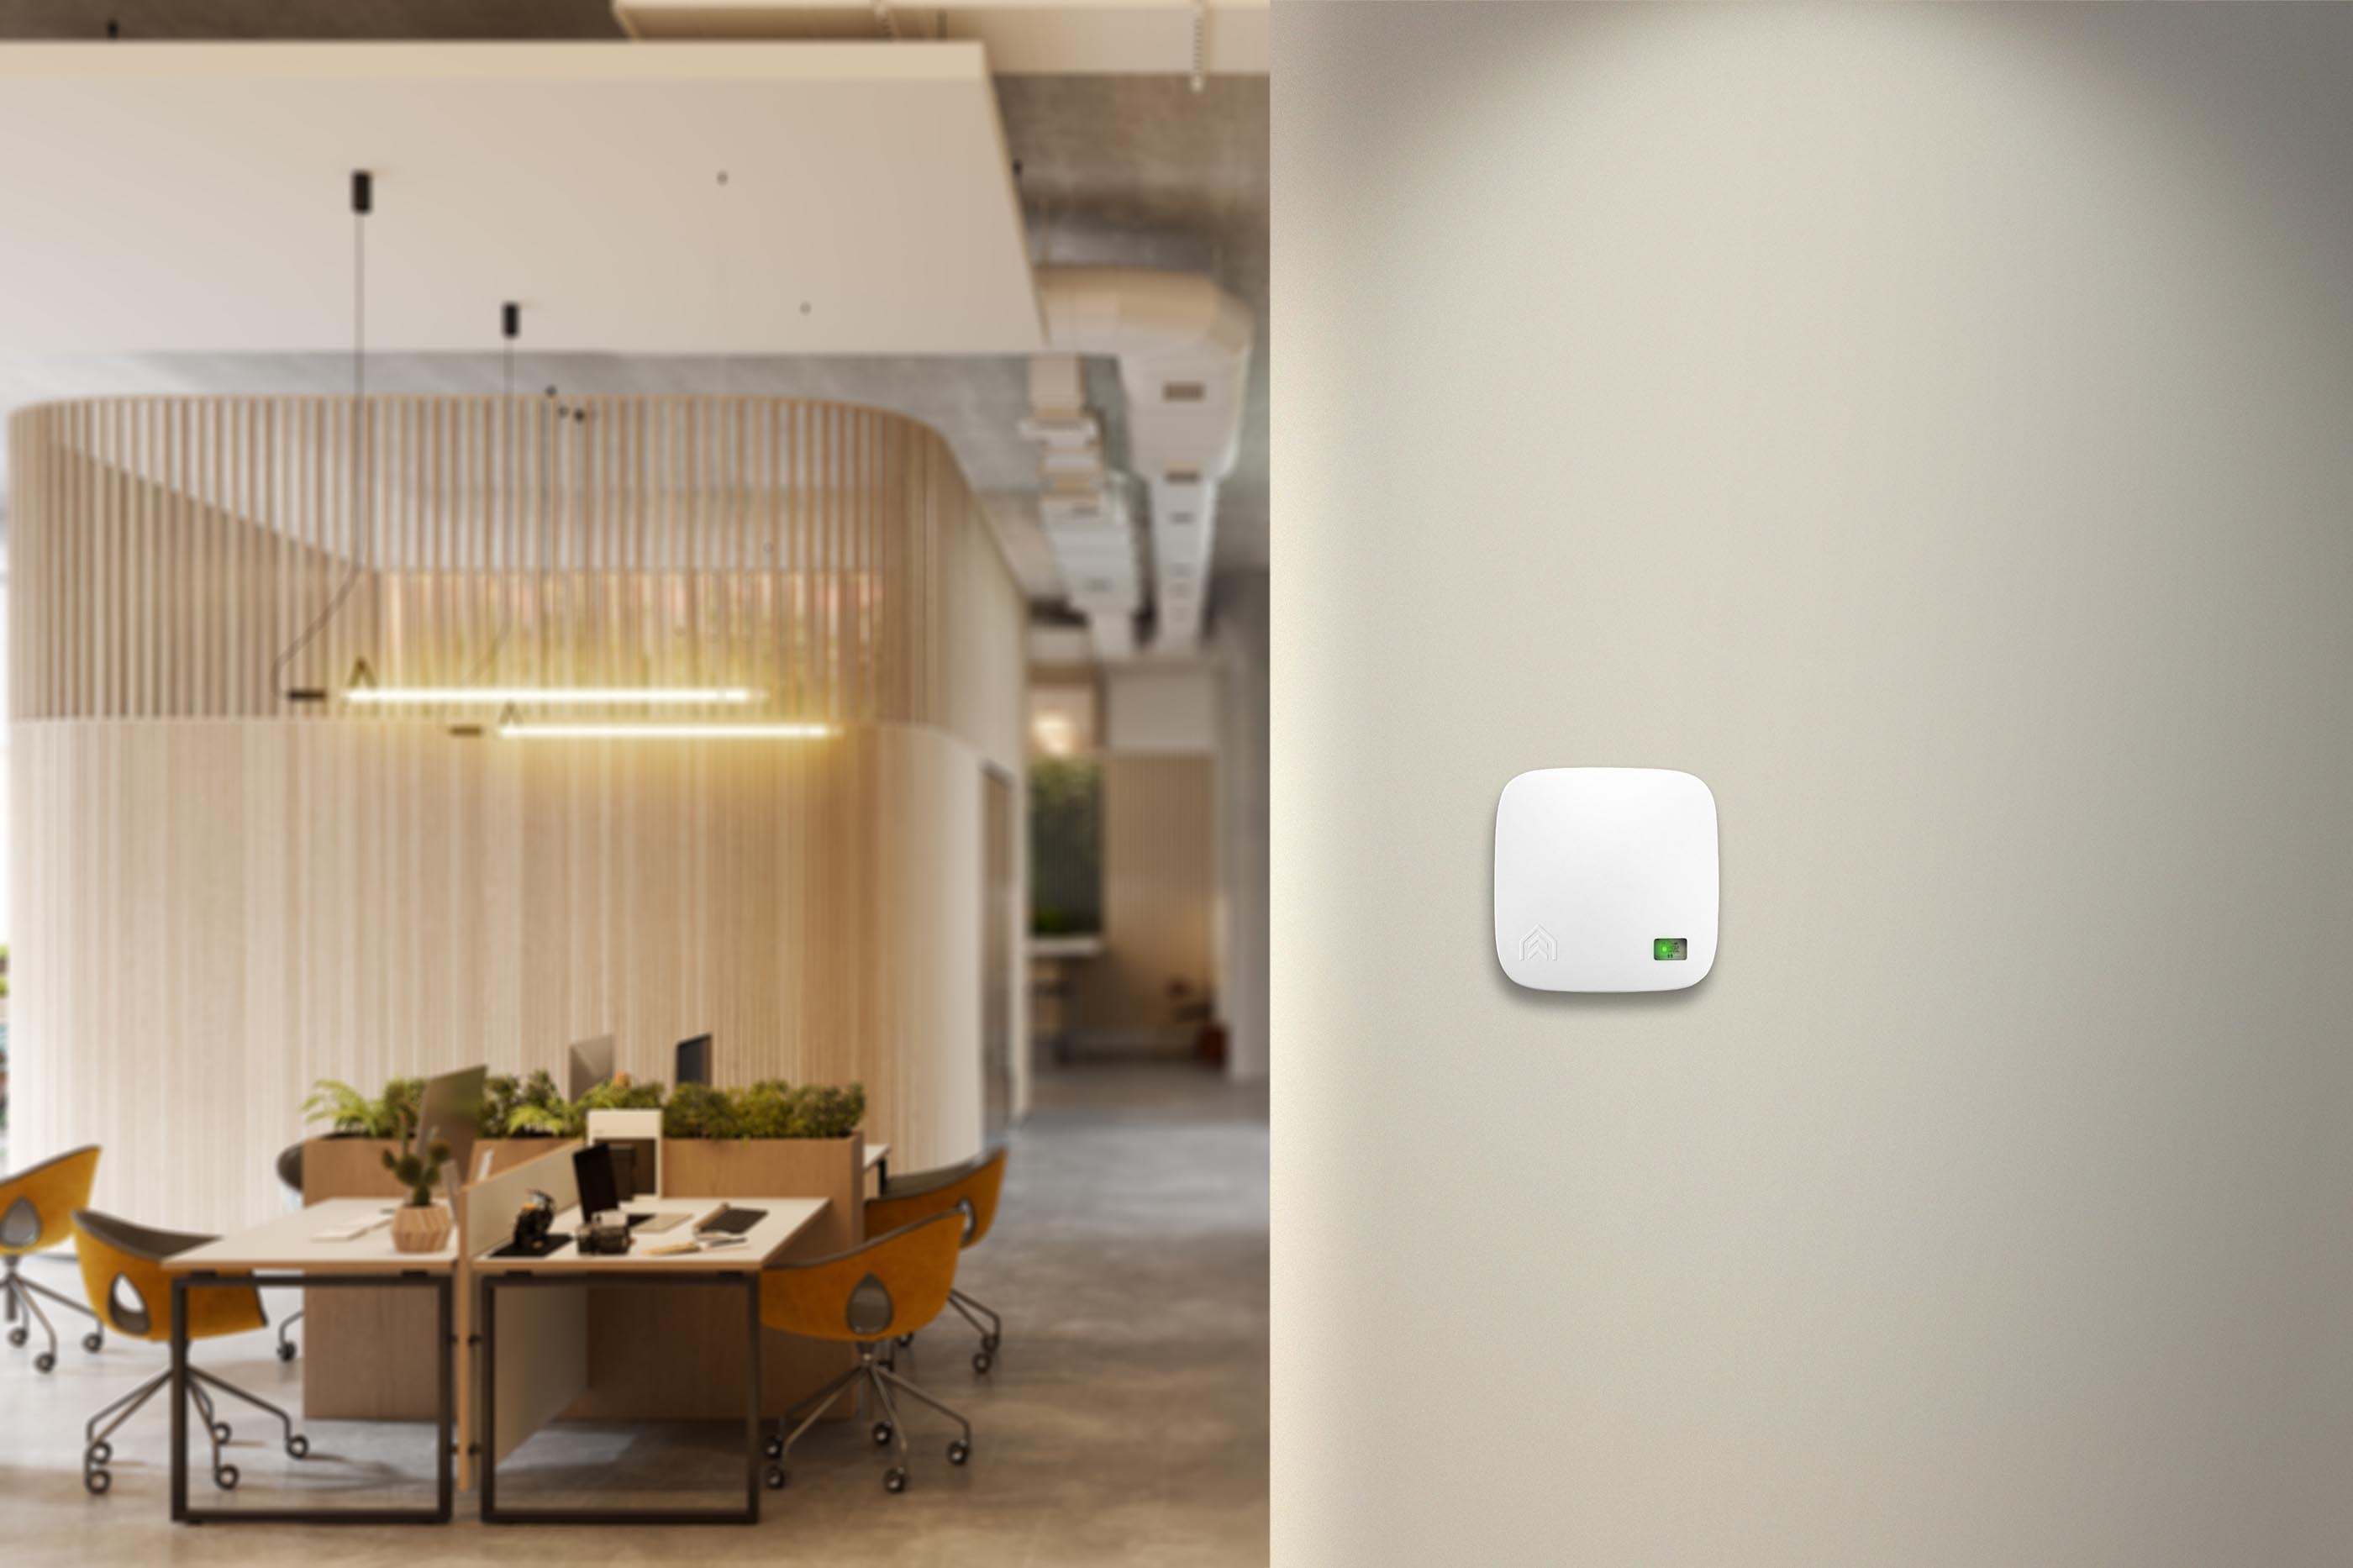
Support
Get help with setting up and using AirSuite sensors and software.
Getting started with AirSuite Glance LTE
Unbox, install and deploy your AirSuite Glance LTE sensor — the full getting started guide, step by step.
This guide covers everything you need to get an AirSuite™ Glance LTE (model ASCM1420) out of its box and reporting to the Cloud — what's included, where to put it, how to mount it, and how to name it in the AirSuite™ Monitor App.
Setting one up takes about a minute once the bracket is on the wall. If you're installing a large number of sensors, read Deployment first and agree a naming scheme with your organisation before you begin.
Introduction
AirSuite™ Sensors are a range of intelligent devices designed to monitor indoor environmental conditions. Each device is packed with a powerful array of sensors that monitor all important environmental factors including thermal comfort, ventilation, lighting and acoustics.
AirSuite™ Sensors have a wireless connection to the Internet and provide a live feed of sensor data securely into the AirSuite™ Monitor Portal and to the AirSuite™ Monitor App.
Glance LTE is battery-powered, and connects to the Internet over the Spark mobile network for Internet of Things (IoT) devices. The network uses LTE Cat-M1 technology and runs over Spark's 4G mobile network. This allows the sensor to operate in an ultra low-power mode, meaning its battery should last for up to 5 years, depending on the configured reporting frequency.
Where LTE sensors work best
AirSuite™ sensors with LTE are especially suitable for:
- Rapid deployment for large numbers of sensors
- No-cable deployments, and deployment in locations where it would be difficult to connect to a power supply
- Deployment in buildings without a secure Wi-Fi network for IoT devices
- Temporary deployments
What's in the box?
Included are enough accessories to support a variety of installation scenarios. Select the mounting solution that best suits your intended location.
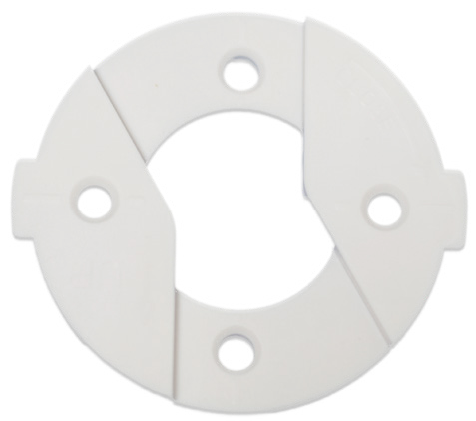
- AMounting bracket
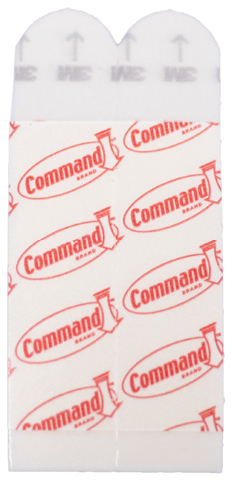
- B2x Command adhesive strips
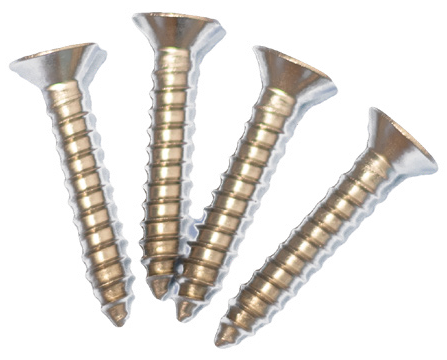
- C4x mounting bracket screws
- D4x hollow wall anchor screws
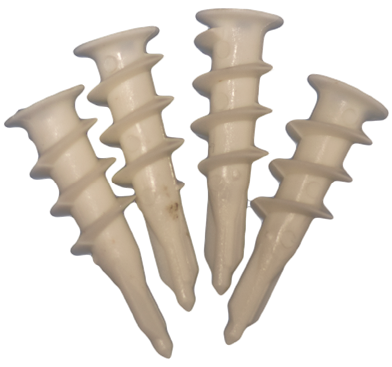
Command adhesive strips (B) can be used as an alternative to mounting with screws. Hollow wall anchor screws (D) can be used for mounting on plasterboard.
Your sensor
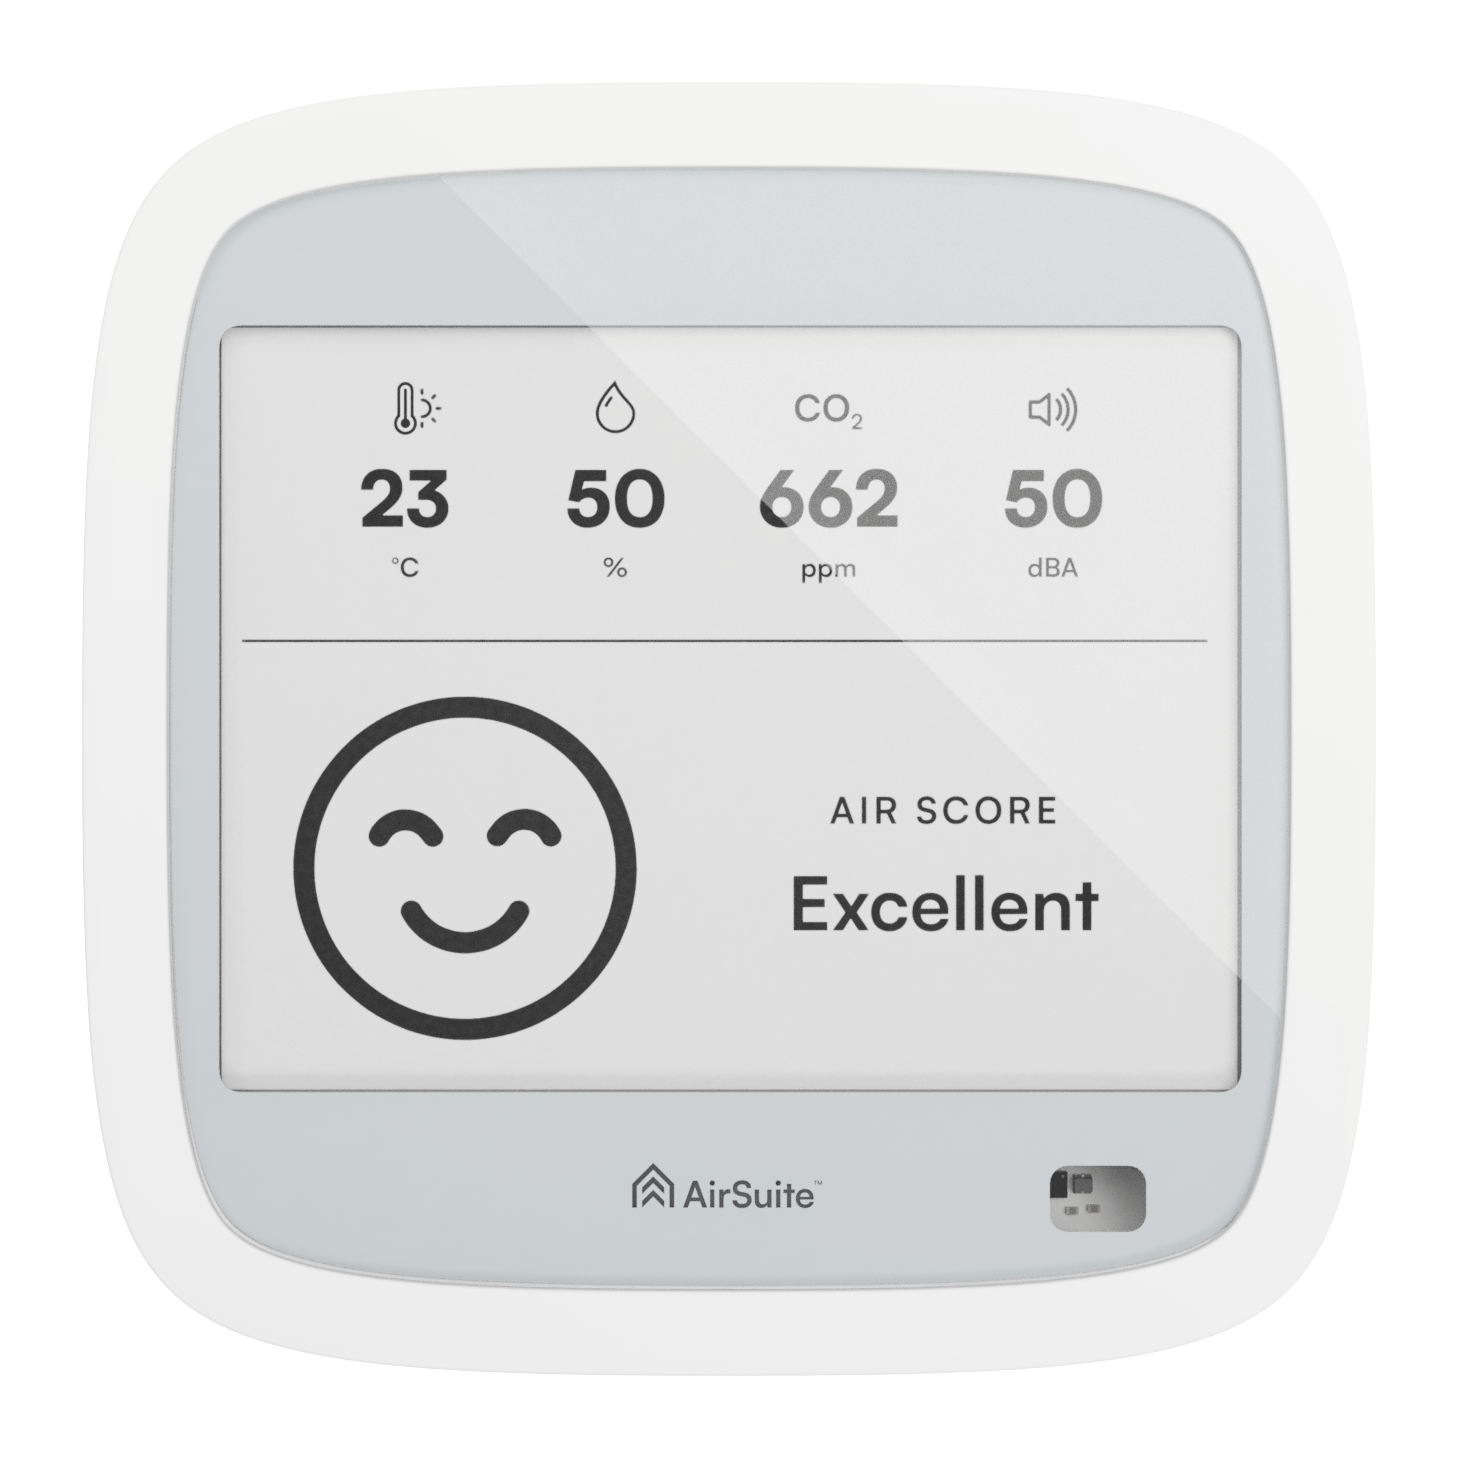
- 1The latest sensor readings
- 2Indicator light and light sensor
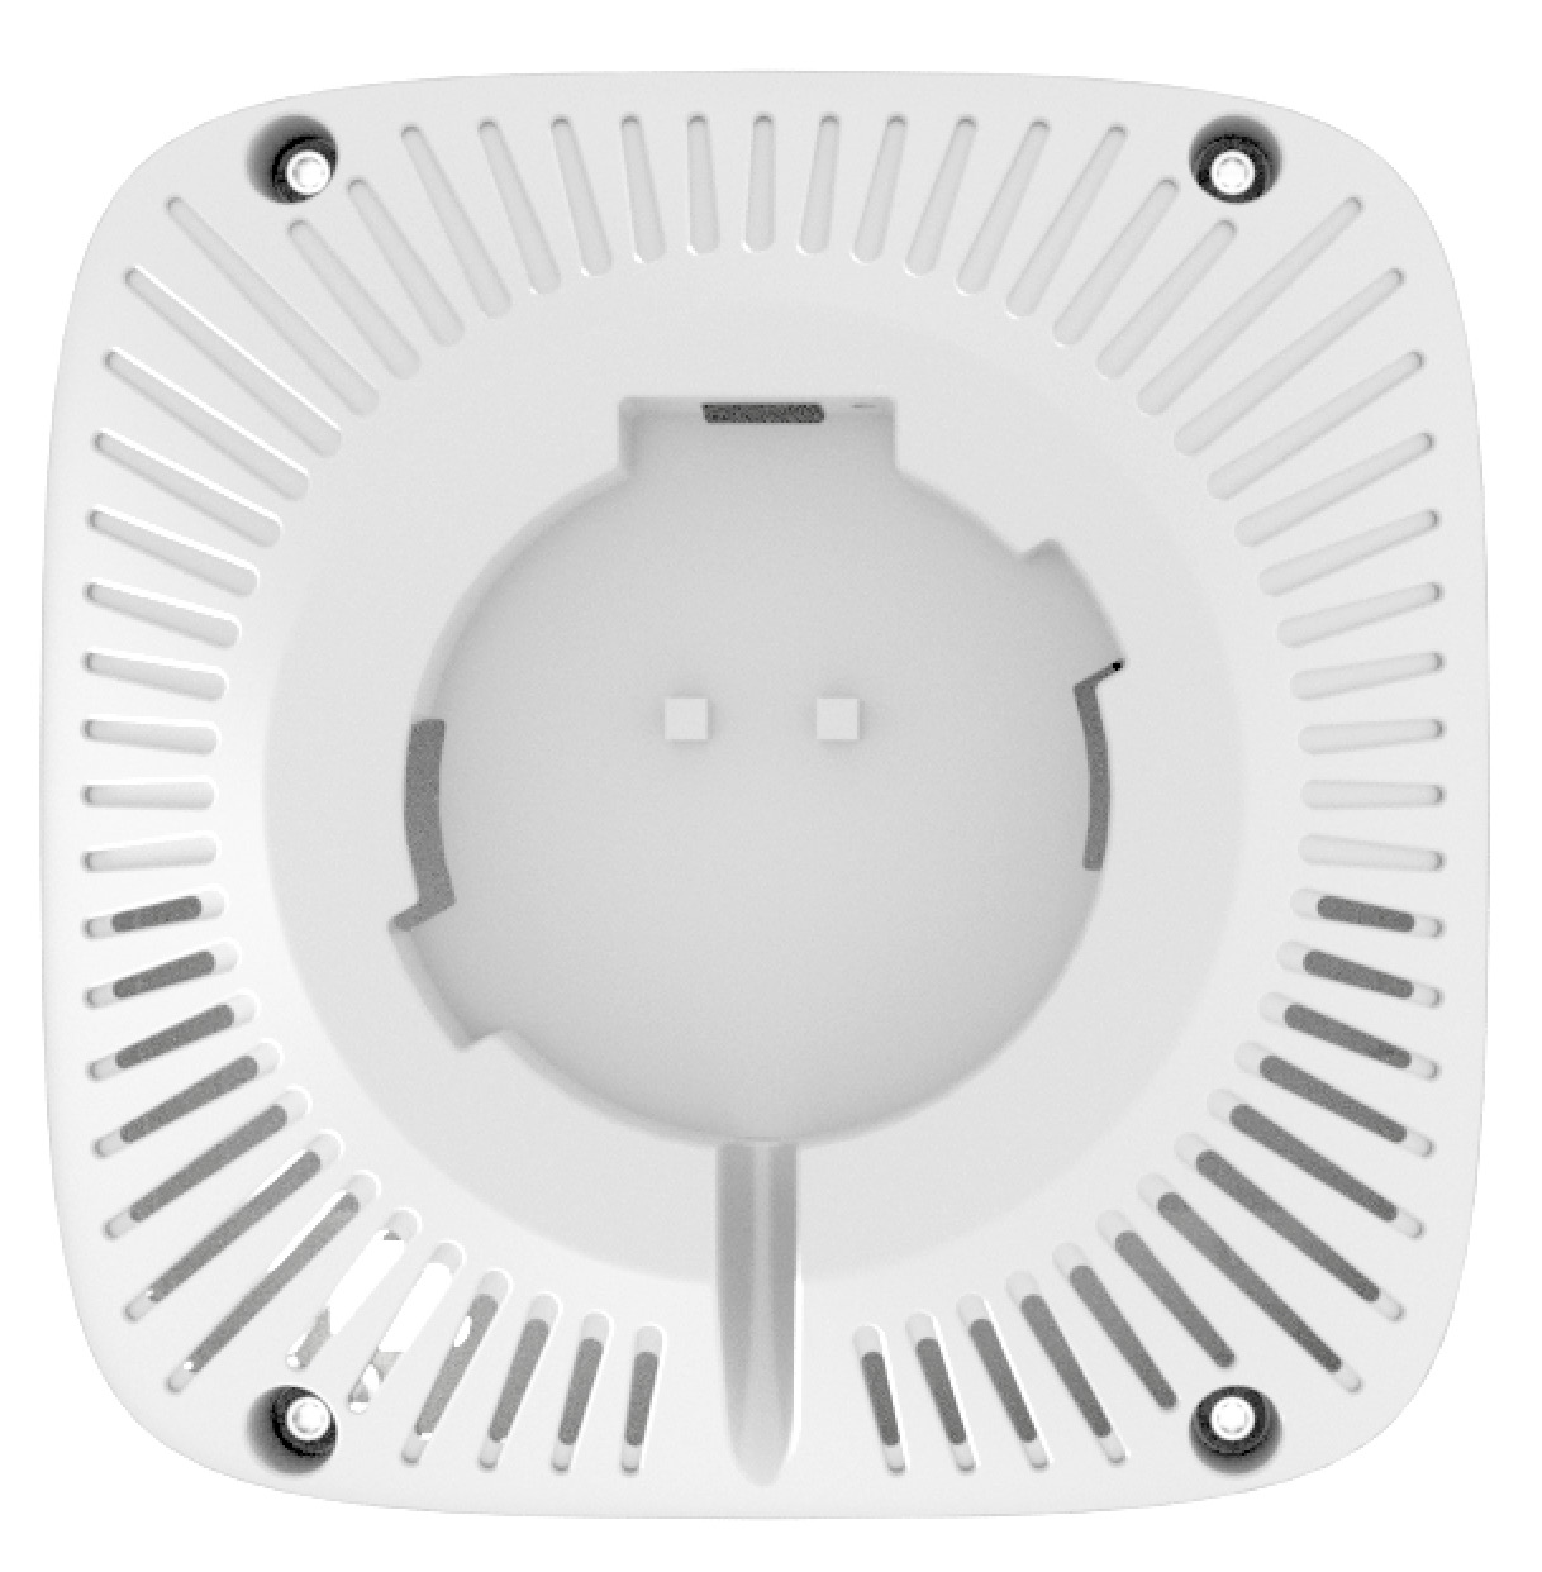
- 1Micro-USB port, for optional mains power
- 2Reset button
- 3Serial number
- 4Air intake
Before you start
- We recommend installing on the wall at a height of 1.5 m to 1.8 m from the ground, so that it has a good view of the room.
- Avoid positioning facing windows, where it would be exposed to direct sunlight, as this will affect temperature and light level measurements.
- Avoid positioning too close to where people will be using the space, as this could affect carbon dioxide level measurements.
- Avoid placing near a stove or kettle, as this may affect temperature and humidity measurements.
Working out how many sensors a building needs, or where they should go in an unusual space? Our placement guide covers coverage per room, high ceilings, and spaces that are occupied around the clock.
Installation
- Locate the mounting kit (A) included in the box.
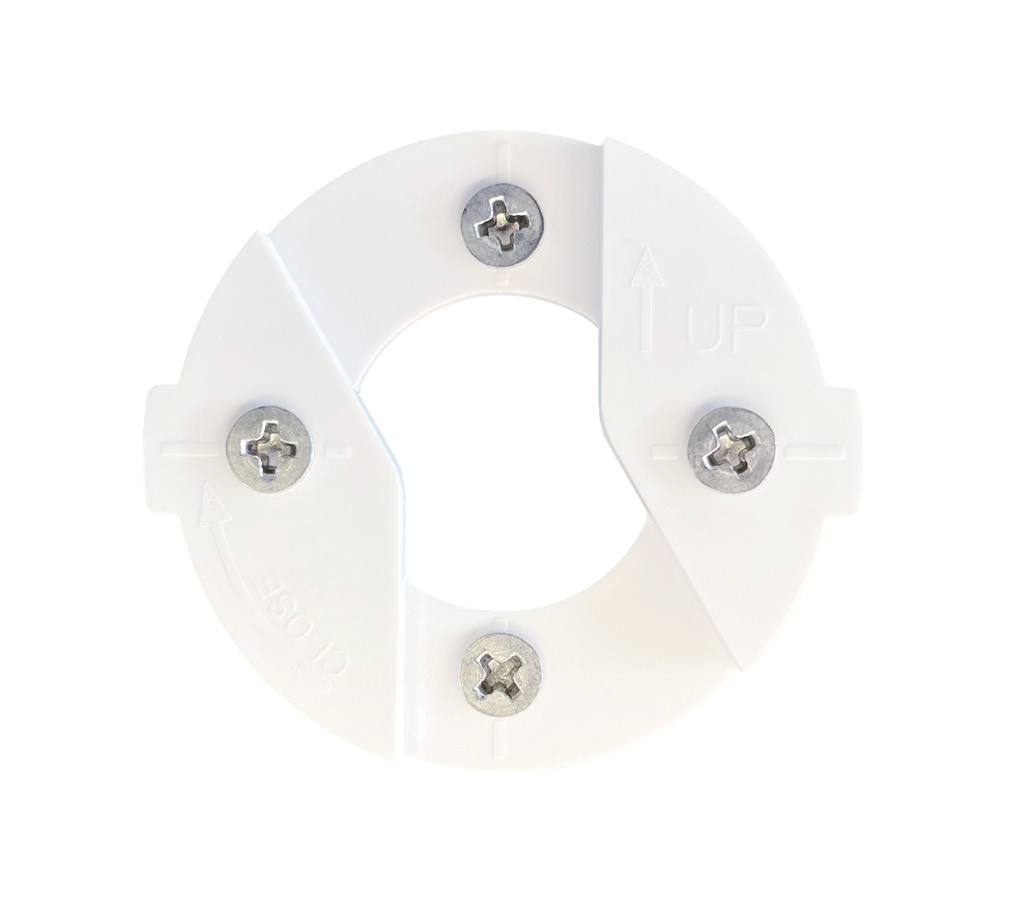
- Determine the best way to mount the bracket to your chosen surface. In this example we are mounting to a wooden board, so screws (C) are used to install the bracket permanently. For a temporary installation, substitute the screws for the two Command adhesive strips (B).
- Mount the bracket to the wall. The “wings” of the mounting bracket should sit level across the wall as shown in Figure 1. This ensures that the sensor sits plumb.
- With the bracket installed on the wall, it is time to turn your sensor on. With a ball-point pen or the end of a paperclip, press and hold down the reset button for 2 seconds until the light illuminates solid green in the indicator window.
- The light will flash green once every second to indicate that the sensor is connecting to the mobile network. This could take up to 5 minutes. When it successfully connects, the light will illuminate solid green briefly.
- To confirm that the sensor has connected successfully, press the reset button once. The light will flash green twice to indicate it is connected.
- Place the sensor on the wall mount at an angle, then rotate it clockwise until it clicks into place.
- The sensor is now reporting to the Cloud. To set its name and location, either sign in to the AirSuite™ Monitor Portal, or follow Deployment below to create a new deployment using the AirSuite™ Monitor App.
Deployment
After physically installing your sensor, you can set its name and location — which is what appears in the Portal — using the mobile app.
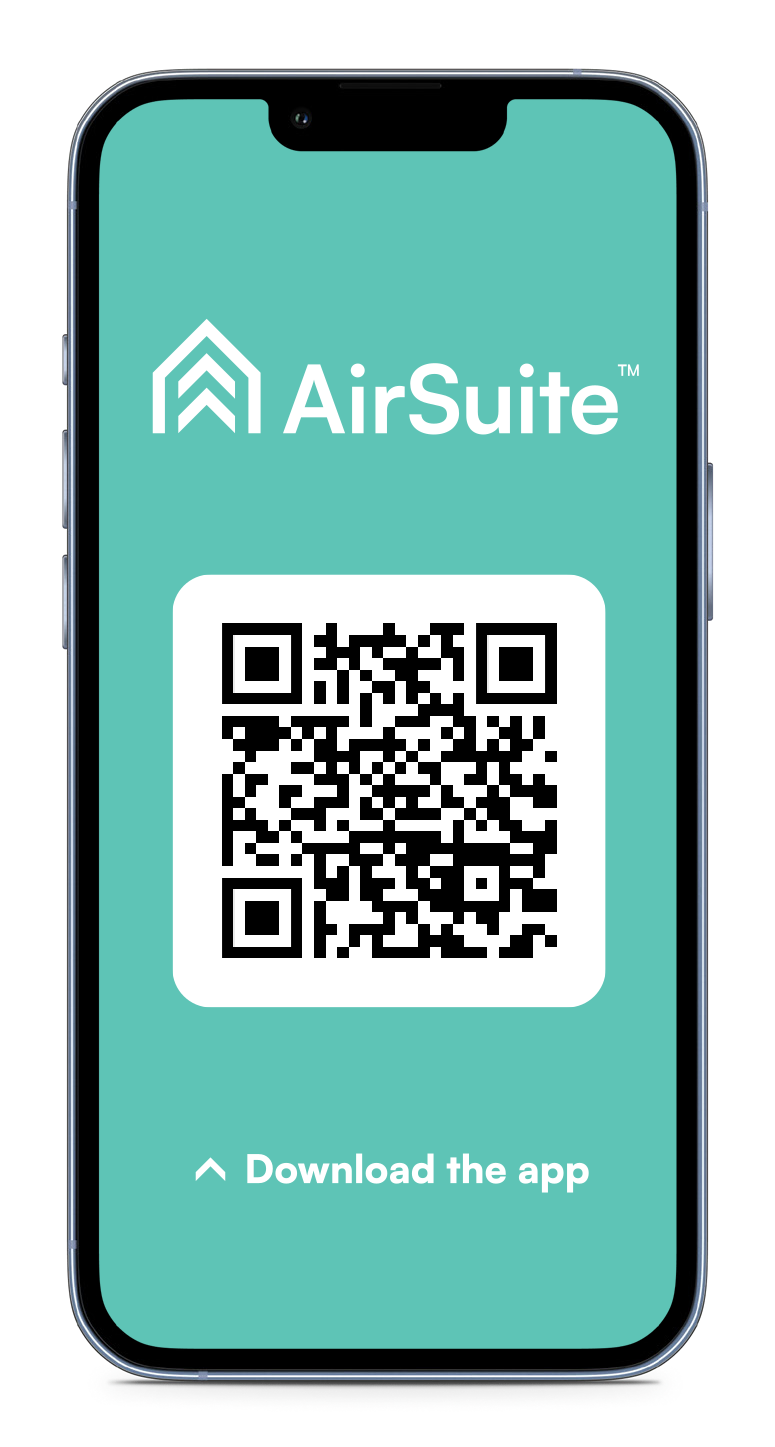
- Scan the QR code, or visit the link provided in Figure 2, to download and install the AirSuite™ Monitor App.
- Open the app and accept the prompts to enable the required permissions for Bluetooth and Location access.
- The app will automatically scan for nearby devices. When it finds the device you are setting up, select it from the list.
- Press the “Setup” button to start the deployment process.
- Enter the password provided to you by AirSuite™ or your organisation. If your organisation has not chosen a password, it may be set to “password” by default.
- Enter a descriptive name for the deployment. For deployments across a large number of rooms and buildings, we recommend that your organisation uses a consistent naming scheme so that deployments are easy to identify later for management purposes.
- Press “Finish setup” and wait for the deployment to complete. This should only take a few moments.
- Return to the sensor status page and wait until you see your device has entered the “Reporting to Cloud” state. This will take 10 to 30 seconds, but can vary depending on the cellular signal.
Using your sensor
Mobile app usage
You can use the AirSuite™ Monitor App to see the latest information reported by your sensors. Your sensors will be available to see in the app while you are nearby, within about 10–15 metres. The Bluetooth signal may be obstructed by walls, so it is best to be in the same room as the device.
If you have a particular sensor, or sensors, that you want to keep an eye on while you're out and about, tap the “Get Alerts” button on that sensor's page in the mobile app. You will receive notifications to your mobile phone when any of the sensor readings exceed the thresholds defined by your organisation, and you will be able to see the latest information reported by that sensor even when you aren't nearby.
If you are an organisation manager, use the AirSuite™ Monitor Portal to manage and monitor all the sensors across your organisation.
Turning your device off and on
If the device is going to be transported or put into storage, it should be turned off to preserve its battery capacity and the longevity of the e-paper display.
If there is information visible on the display, this indicates the device is turned on, unless its battery has run flat. You can double-check by pressing the reset button once: if the light flashes either green or red, your device is turned on. If it does not flash, the device is turned off.
To turn off your device, press and hold the reset button until the light illuminates solid orange — the display will be cleared and the device will turn off. To turn the device back on again, press and hold the reset button until the light illuminates solid green.
AirSuite™ Smart Sleep
To preserve battery life, your device will go to sleep periodically using Smart Sleep, which optimises itself based on occupancy and usage. When the device is asleep, some features will be turned off or limited — the display may update less frequently, for example, and reporting to the Cloud will be scheduled for when the device wakes up. While asleep, the device continues to take sensor measurements at regular intervals, and all data is uploaded to the Cloud when it wakes.
How do I know my device is working?
If the screen is blank, the device is turned off. When a device is turned on, the display updates with the latest sensor readings periodically — usually at least once every 5 minutes, depending on the device configuration. The light will flash green to let you know the device is trying to connect to the mobile network, and it will flash red if it hasn't been able to connect for a long time.
If the light has been flashing for more than a few minutes, the device may be having trouble connecting to the network. Try moving it around the room, or into a different room, to see if this improves the mobile network signal.
Indicator light reference
The indicator light sits behind the small window in the bottom-right corner of the front face. Press the reset button once at any time to ask the device to report its status.
- Solid green, while held
- The device is turning on. Release the reset button once the light is lit.
- Flashing once per second
- The device is connecting to the mobile network. This can take up to five minutes.
- Solid green, briefly
- The device has connected to the mobile network successfully.
- Two flashes, after a single press
- The device is turned on and connected.
- Flashing red
- The device has been unable to reach the mobile network for a long time. Try moving it to another part of the room, or to a different room.
- Solid orange, while held
- The device is turning off. The display will clear once it has shut down.
- No light, after a single press
- The device is turned off, or its battery is flat.
Safety & compliance
FCC compliance statement
This device complies with part 15 of the FCC Rules. Operation is subject to the following two conditions: (1) this device may not cause harmful interference, and (2) this device must accept any interference received, including interference that may cause undesired operation.
This equipment has been tested and found to comply with the limits for a Class B digital device, pursuant to part 15 of the FCC Rules. These limits are designed to provide reasonable protection against harmful interference in a residential installation. This equipment generates, uses and can radiate radio frequency energy and, if not installed and used in accordance with the instructions, may cause harmful interference to radio communications. However, there is no guarantee that interference will not occur in a particular installation. If this equipment does cause harmful interference to radio or television reception, which can be determined by turning the equipment off and on, the user is encouraged to try to correct the interference by one or more of the following measures:
- Reorient or relocate the receiving antenna.
- Increase the separation between the equipment and receiver.
- Connect the equipment into an outlet on a circuit different from that to which the receiver is connected.
- Consult the dealer or an experienced radio/TV technician for help.
Caution: Any changes or modifications to this device not explicitly approved by AirSuite could void your authority to operate this equipment.
This equipment complies with FCC radiation exposure limits set forth for an uncontrolled environment. This device should be installed and operated with minimum distance of 20 cm between the equipment and a person's body.
ISED Canada compliance statement
English
This device complies with Industry Canada license-exempt RSS standard(s). Operation is subject to the following two conditions: (1) this device may not cause interference, and (2) this device must accept any interference, including interference that may cause undesired operation of the device.
The digital apparatus complies with Canadian CAN ICES-3 (B)/NMB-3(B).
This device meets the exemption from the routine evaluation limits in section 2.5 of RSS 102 and compliance with RSS 102 RF exposure, users can obtain Canadian information on RF exposure and compliance.
This equipment complies with Canada radiation exposure limits set forth for an uncontrolled environment.
This equipment should be installed and operated with minimum distance 20 cm between the equipment and a person's body.
French
Le présent appareil est conforme aux CNR d'Industrie Canada applicables aux appareils radio exempts de license. L'exploitation est autorisée aux deux conditions suivantes: (1) l'appareil ne doit pas produire de brouillage, et (2) l'utilisateur de l'appareil doit accepter tout brouillage radioélectrique subi, même si le brouillage est susceptible d'en compromettre le fonctionnement.
L'appareil numérique du ciem conforme canadien CAN ICES-3 (B)/NMB-3(B).
Cet appareil est conforme à l'exemption des limites d'évaluation courante dans la section 2.5 du CNR 102 et conformité avec RSS 102 de l'exposition aux RF, les utilisateurs peuvent obtenir des données canadiennes sur l'exposition aux champs RF et la conformité.
Cet équipement est conforme Canada limites d'exposition aux radiations dans un environnement non contrôlé.
Cet équipement doit être installé et utilisé avec une distance minimale de 20 cm entre l'appareil et le corps d'une personne.
Alerts
- Configure alert thresholds
- Email Notifications
- Manage Alerts
- Mobile App Notifications
- Our Recommendations
Connectivity
- Battery Life
- LTE Coverage Guide
- Over-the-air Updates
- Troubleshoot Inactive LTE devices
- Troubleshoot Inactive Wi-Fi devices
- Wi-Fi Access Point Compatibility
- Wi-Fi or LTE?
Manage Access
Sensors
- AirSuite Glance display
- CO₂ Calibration
- Deep dive: Particulate Matter
- Deep dive: VOCs
- Download user manuals
- Getting started with AirSuite Glance LTE
- Measurement & Reporting Intervals
- Placement Guide